How to Build a Conservatory Base: A Step-by-Step Guide
Updated: Oct 9
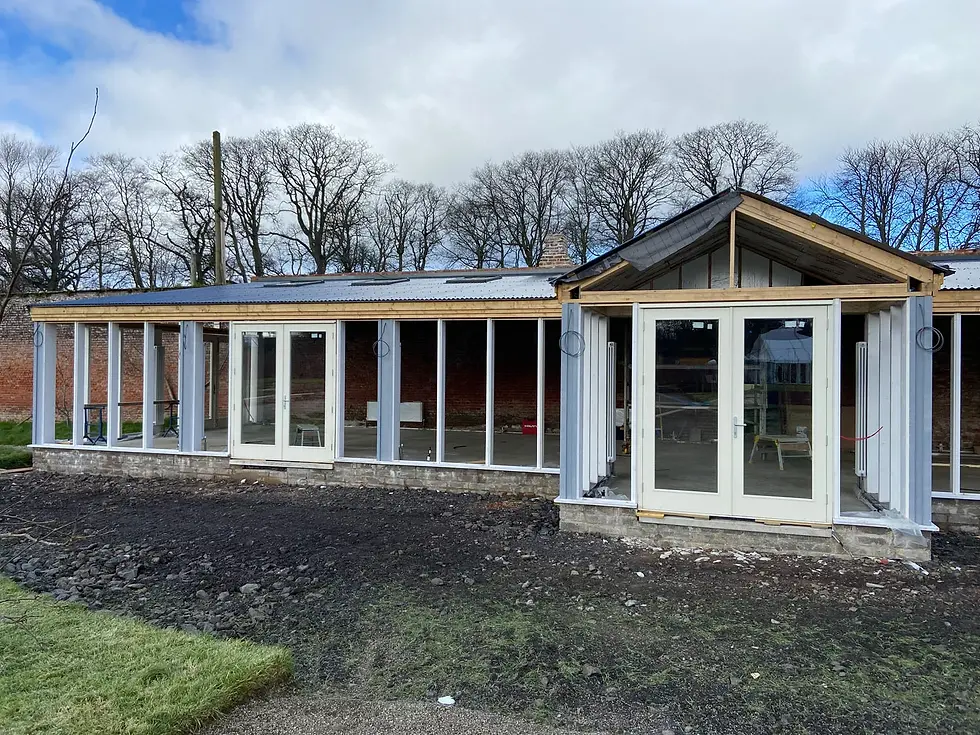
If you want to know how to build a conservatory base, the short answer is this: you need to survey the site, set out the footprint accurately, excavate to the right depth, pour suitable foundations, build the base structure, install drainage and insulation, and finish with a level slab ready for the conservatory frame.
A bespoke conservatory, orangery or glass extension only performs as well as the structure beneath it: get the base wrong and even the best glazing suffers from movement, poor floor levels or cold spots.
Planning a Conservatory Base Before Work Starts
Start by assessing the site: ground levels, drainage runs, nearby trees, inspection chambers and access. A lightweight conservatory, a hardwood orangery and a glass box extension place very different demands on the base, so the specification depends on the soil, the loads and the design. If the conservatory is not exempt from building regulations, notify building control before you dig; they will want to inspect the trenches before concrete is poured. Whether you need footings, and how deep, is covered in our guide to conservatory footings.
Materials and Tools for a Conservatory Base
A typical base uses:
concrete for the footings and slab (ready-mixed for anything but the smallest base);
facing bricks to match the house, plus blocks for the inner leaf of the dwarf wall;
wall ties, damp-proof course and cavity closers;
MOT Type 1 hardcore and sand blinding;
a damp-proof membrane;
rigid PIR insulation boards;
ducts or sleeves for services;
tools: string lines, pegs, a tape, a spirit level or laser level, spades or a mini digger, a wacker plate and a concrete tamper.
Step 1: Set Out the Conservatory Base Accurately
The first practical stage is setting out the footprint.
This means marking the exact position, width and projection of the conservatory base on the ground with pegs and string lines. Accuracy matters here. A small error at this stage can cause bigger problems later when walls, frames, doors or roof elements are installed.
Square the corners with the 3-4-5 method: measure 3 units along one line and 4 along the other, and the diagonal between those points must be exactly 5. Then check that the two diagonals of the whole footprint are equal.
Check:
the overall footprint
the position relative to the existing house
the squareness of the corners
the finished floor level
door thresholds and openings
Step 2: Excavate for a Stable Conservatory Foundation
Once the layout is confirmed, the area can be excavated.
The required depth will depend on the ground conditions and the structural design, which is why this stage should never be based on guesswork. Trenches are typically around 450mm to 600mm wide, and taken down to at least 600mm on firm ground, around 1 metre on clay and deeper near trees; your structural engineer or building control officer confirms the depth for your site. The floor area inside is dug out to leave room for the full floor build-up.
During excavation, watch for anything unexpected, such as soft spots, old drains, tree roots or previous structures beneath the ground. These can all affect how the base needs to be constructed.

Step 3: Pour the Footings and Build the Base Structure
With the ground prepared, the next stage is forming the structural foundation.
Concrete strip footings, typically at least 225mm thick, spread the load of the conservatory into the ground. Once they have cured, the dwarf walls are built as a cavity wall: facing brick outside, block inside, a cavity of around 100mm with insulation, and wall ties between the two leaves. A damp-proof course goes in at least 150mm above the finished ground level outside.
The base must be level, true and built to the exact dimensions of the conservatory design, especially for slim sightlines, structural glazing or large sliding doors, where tolerances are tight.
Step 4: Add Hardcore, Membrane and Insulation
After the main base structure is in place, the internal floor area can be built up.
This typically includes a compacted sub-base, a damp-protection layer and insulation. A common build-up is around 150mm of compacted hardcore, sand blinding, a damp-proof membrane, rigid insulation and a concrete slab of about 100mm, with the exact thicknesses set by the design and the insulation targets. Rigid PIR insulation is typically 75mm to 100mm thick, or more where building regulations apply. Lap the membrane up the inside of the walls to meet the damp-proof course.
A conservatory designed for year-round use needs a floor build-up that holds its warmth. Skipping or reducing this layer may save time in the short term, but it leads to a colder, less usable room.
Step 5: Plan Drainage, Electrics and Heating Early
One of the most common mistakes in conservatory base construction is leaving services too late.
Before the slab is finished, you should already know whether the room will need power, lighting, underfloor heating, drainage connections or any other built-in services. Lay ducts through the base for cables and pipes. Running services in after the base is complete is far more disruptive and expensive.

Step 6: Lay the Concrete Slab for the Conservatory Floor
With the groundwork, insulation and services prepared, the slab can be laid.
This creates the final structural platform for the conservatory floor and must be finished to the correct level and tolerance. A slab that is uneven, poorly cured or set at the wrong height can cause problems throughout the build. Keep fresh concrete damp and protected from frost and strong sun while it cures; it gains most of its strength in the first week and continues to harden for around four weeks, so avoid heavy loads early. Any screed on top needs longer to dry before flooring is laid.
Step 7: Check Levels Before the Conservatory Is Installed
Before the conservatory frame arrives, the completed base should be checked thoroughly.
This includes:
overall dimensions
diagonal measurements
finished floor height
level across the slab
threshold positions
service locations
A few millimetres can make a visible difference with large panes of glass, slim aluminium frames or flush internal transitions.
How Long Does It Take to Build a Conservatory Base?
For a straightforward base, typically a week or two on site: a day or two to set out and excavate, a day to pour the footings, a few days for the dwarf walls, and a day or two for the floor build-up and slab, plus curing time and any building control inspections. Poor ground, trees or drains add time.
Common Conservatory Base Mistakes to Avoid
Assuming every base is the same. A base for a traditional orangery is not always the same as a base for a frameless glazed extension.
Ignoring finished floor levels. A room that sits too high or too low against the house feels awkward and unresolved.
Underestimating insulation. The floor build-up decides whether the room is cold in winter.
Forgetting services. Electrics, drainage and heating need to be planned before the slab is completed.
Treating the base as a DIY afterthought. The hidden base is what supports the room's long-term performance.
When a Glass Extension Base Needs Specialist Design
Large spans of glazing, slim-frame doors, frameless corners, structural glass, heritage settings and a flush connection to the house all call for specialist design input. In these cases the base is part of the engineering solution, not simply a platform.
Should You Build a Conservatory Base Yourself?
An experienced builder can, and on a small, simple conservatory on good ground some homeowners do. But the depths, the damp-proofing and the levels all have to be right, and mistakes are buried under the finished floor. For most homeowners, and for any base carrying a bespoke conservatory, orangery or glass extension, a professionally designed and installed base is the safer choice. The cost depends mainly on the size, the ground conditions and the depth of the footings, so get a site-specific quote rather than relying on a rate per square metre.
If you are planning a new glazed extension, talk to our design team and we can help you get the base right from the very beginning.


